This chapter will explain how to get things started from a blank slate.
Choosing A Server
So you have decided you want to host your own BeamMP server, that's great! There are some things to consider when starting to host a server so let's start off by deciding what your overall intentions are.
Currently, we offer three BeamMP server hosting plans and each plan fits a users different needs.
If you are wanting a private server for you and your friends or just want to start small then the Basic plan is probably right for you.
Other plans such as our Club and Community plans are more fit for public communities and users wanting to host servers for the general public.
Accessing Your Server
You have now purchased your desired BeamMP server and need to configure it. This may seem overwhelming to some but we have done our best to make our server panel as streamline as possible.
NOTE: If at any point you get stuck navigating your server panel or need assistance navigating the panel please see our Panel Documentation
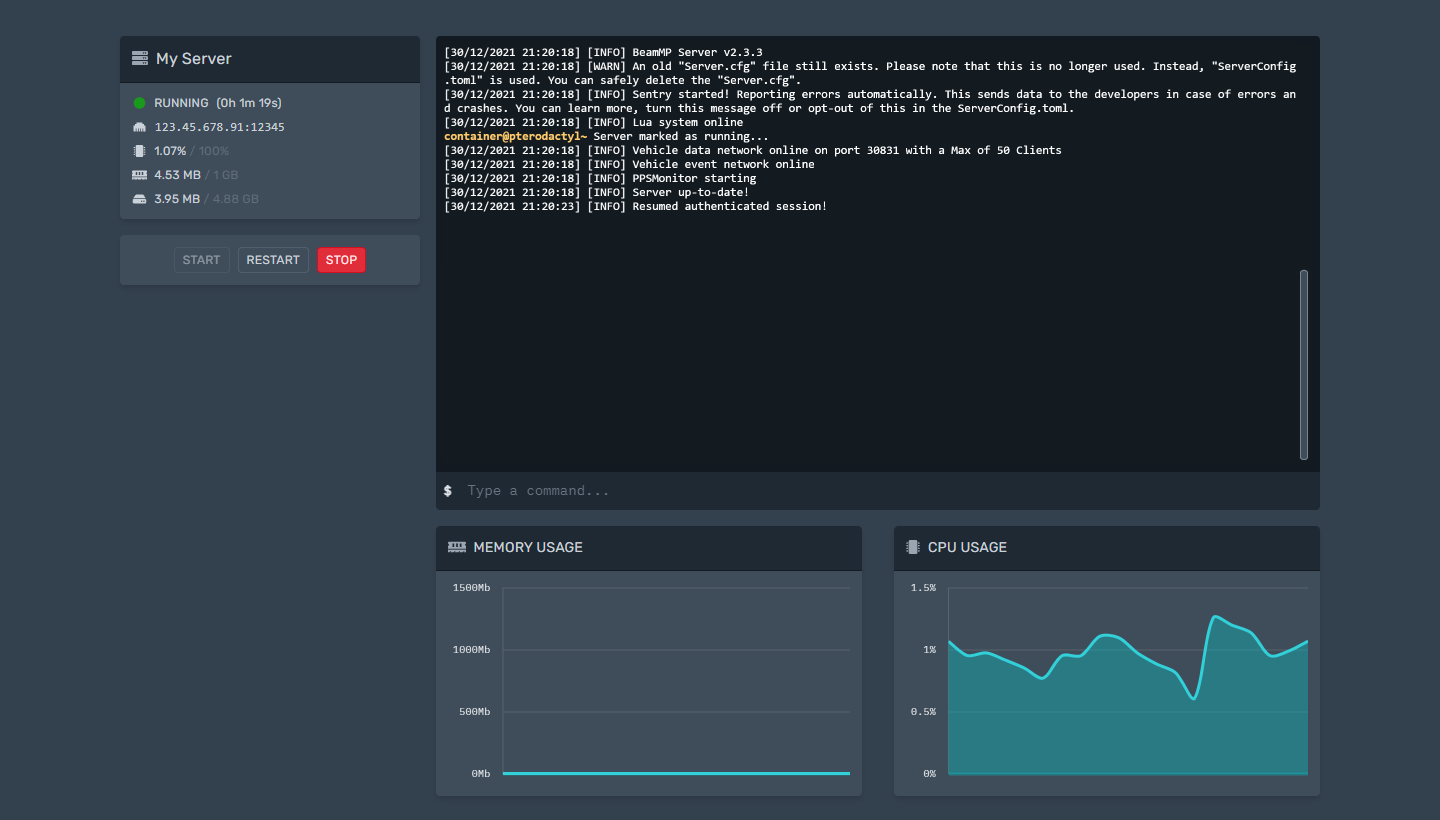
Once you have successfully purchased your own BeamMP server you should have gotten an email including login information to access your game panel. Once you have successfully set a password for your game Panel and log in you will see your server's listed along with the IP, port and general server performance stats.

You can now click on your server you want to manage. You should now see your server console along with other various server information and graphs.
Configuring Your Server Key
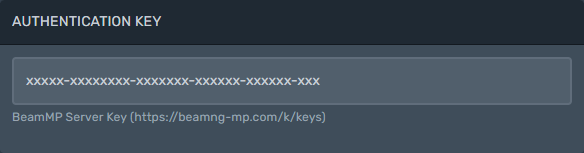
The first step to setting your server up is to add your BeamMP server key to your config. A BeamMP server key is a key provided to your by BeamMP to authencate your server to their backend. You can get a key for free from the BeamMP Keymaster and creating one. You can always get additional server keys by becoming a BeamMP Patreon.
Now that you have your key created and copied you can go back to your BeamHost game panel and using the top navigation bar go to the Startup tab. You can now paste your server key in the Authencation Key field.
Now that your server key is configured you should now have a functioning server after a simple server restart. But let's continue to configure the rest of your server first such as the server name, description and more.
You can set all this up at the same location as you did for your server key.
Configuring Your Name & Description
let's start by adding a server name and description. In your game panel under the Server Config tab you should find a text field labeled "Name". This is where you will set your server name that will show up in the BeamMP public server list (If the server is a public server).
Next up we will be adding a server description. The server description is completely optional but is reccomended as it will let users know what your server is about. You can add your server description in the text field labeled "Description".
Private Or Public Server
The next step is determining if you want your server to be a private server or a public server. A private server is a server that is hidden from the public BeamMP server list and is only joinable by using the direct connect functions in the BeamMP launcher.
In order to connect to a private server you must navigate to the direct connect tab in your BeamMP server browser and enter your servers IP:PORT. You can find your server IP and Port in your game panel under the "Console" tab. When connecting to your server you can use your numeric IP address or you can use "play.beamhost.net" as an IP address.
A public server on the otherhand is much easier to connect to as it will be displayed in the public server list and can be joined by anybody on BeamMP.
Once you decide what style of server you want you can set the "Private" option to true or false.
true=Server Is Private
false=Server Is Public
Configure The Server Map
We will now need to set the map on your server. This is done in the Server Config tab under the MAP text field. For a vanilla map we have some of the entries listed below.
All you need to do is copy the map that you want below such as /levels/gridmap_v2/info.json and paste it in your server config MAP text field.
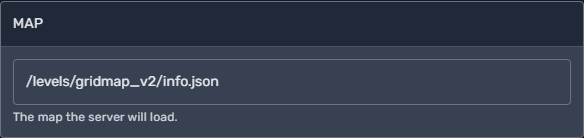
- /levels/gridmap_v2/info.json
- /levels/automation_test_track/info.json
- /levels/east_coast_usa/info.json
- /levels/johnson_valley/info.json
- /levels/hirochi_raceway/info.json
- /levels/italy/info.json
- /levels/jungle_rock_island/info.json
- /levels/industrial/info.json
- /levels/small_island/info.json
- /levels/smallgrid/info.json
- /levels/utah/info.json
- /levels/west_coast_usa/info.json
- /levels/driver_training/info.json
- /levels/derby/info.json
In order to add a custom map you will have to open the map's .zip file and copy the name from the /levels/{name} directory. You can now close out of the .zip file. If the map name you copied has uppercase characters in it such as "MyMapName" you will have to convert it to "mymapname". This will result in your entire map name in your configuration to be "/levels/mymapname/info.json".
Configure Max Cars
The "Max Cars" configuration field is to set the amount of cars each player can spawn. If you only want to allow each player to spawn 1 vehicle then set this value to 1. Otherwise, change this value to your desired amount of vehicles per player.
CONGRATULATIONS
You have now configured your BeamMP server and it is now online and ready for the community to enjoy.Advanced Configuration.
This chapter will explain how to use some of the more advanced features that come with your BeamMP server.
Server Name Colors
There are many colors you can use to make your server stand out. BeamMP uses special formatting to allow you to easily create custom color names and descriptions for your servers. To use these colors is simple, all you need to do is add the color code of your desired color before your name.
For example, if you wanted to color your server name (My Server Name) red you would enter your name in the configuration as: "^4My Server Name" which would result in My Server Name.
There are many ways to get creative with this and make your server really stand out. Feel free to use our server name generator below to create your own custom name.
Updating Your Server
There are two ways you can go about updating your server after a BeamMP update is released. Method 1 is by simply reinstalling your server from your game panel in the "Settings" tab. This will erase all your mods, settings and anything else you may have configured on your server. If you are running a completely vanilla server this may be an easier option.
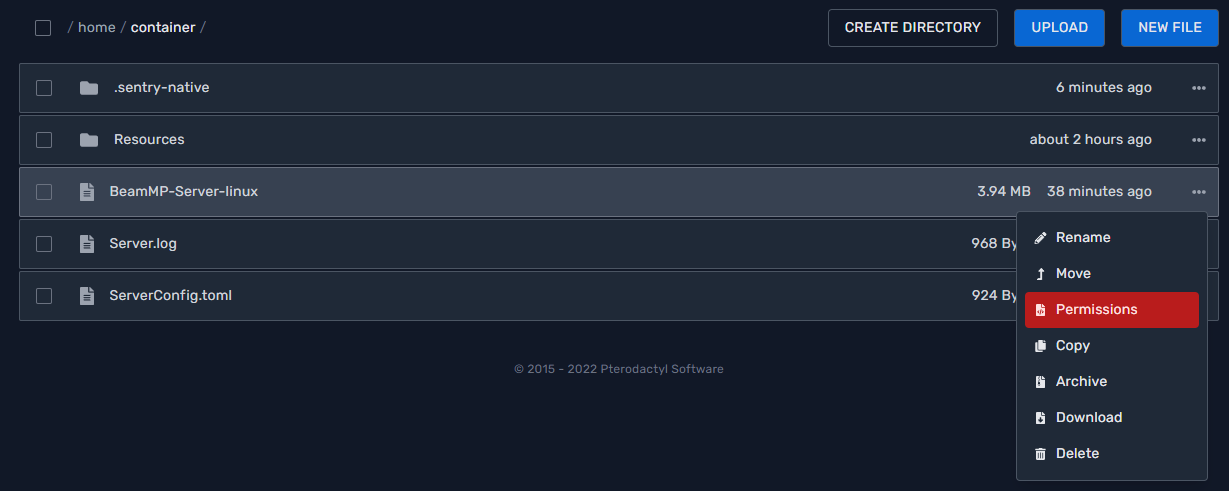
Method 2 requires you to download the BeamMP server mod from HERE. Once you have the BeamMP_Server.zip file downloaded open it and extract the BeamMP-Server-linux file to your desktop temporarily. Now navigate to your servers game panel and stop your server from running. Next, open the File Manager and delete the existing "BeamMP-Server-linux" file from your server.
Now you need to upload the new updated BeamMP-Server-linux file from your Desktop to your server. Do this by simply dragging and dropping the file in the same location you deleted the old "BeamMP-Server-linux" file.
Now before starting your server you need to change the permissions level for the new BeamMP-Server-linux file. Do this by pressing the three small doth to the right of the file name in your file manager and clicking "Permissions". A window should pop up stating "File Mode", In the text field enter 755 and press "Update".
Once complete your server should be updated and ready to start.
NOTE: We do not always recommend updating to the latest versions immediately due to bugs & crashes that may not be fixed. Always keep up with BeamMP updates & progress on the Official BeamMP Discord server
Adding Mods To Your Server
Adding mods to your server can be tricky sometimes. There are lots of mods that are outdated out there that if installed on your server, they could cause instabilities or crashes to your server. Please be cautious about what mods you decide to install on your server.
With that said there are also tons of really great and amazing mods out there so let's go over how to install them. First you will need to navigate to your game panel and shut down your server. Next enter the File Manager. You should see many folders & files, open the Resources folder.
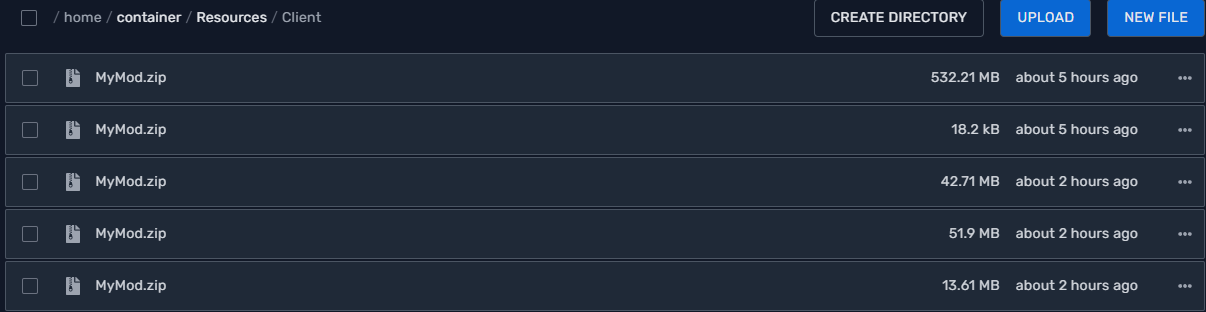
Once there you will find two folders named Client and Server. In most cases you will be using the Client folder as the Server folder is dedicated for server add-ons and scripts. Once you have the Client folder opened up you are ready to start installing your desired mods. All you need to do at this point is drag & drop or use the upload button to install your mods into this directory.
When installing mods it is important to keep them in their .zip compressed format. Do not extract them in any way.
Now that you have your mods installed it's time to start your server back up and try them out!